

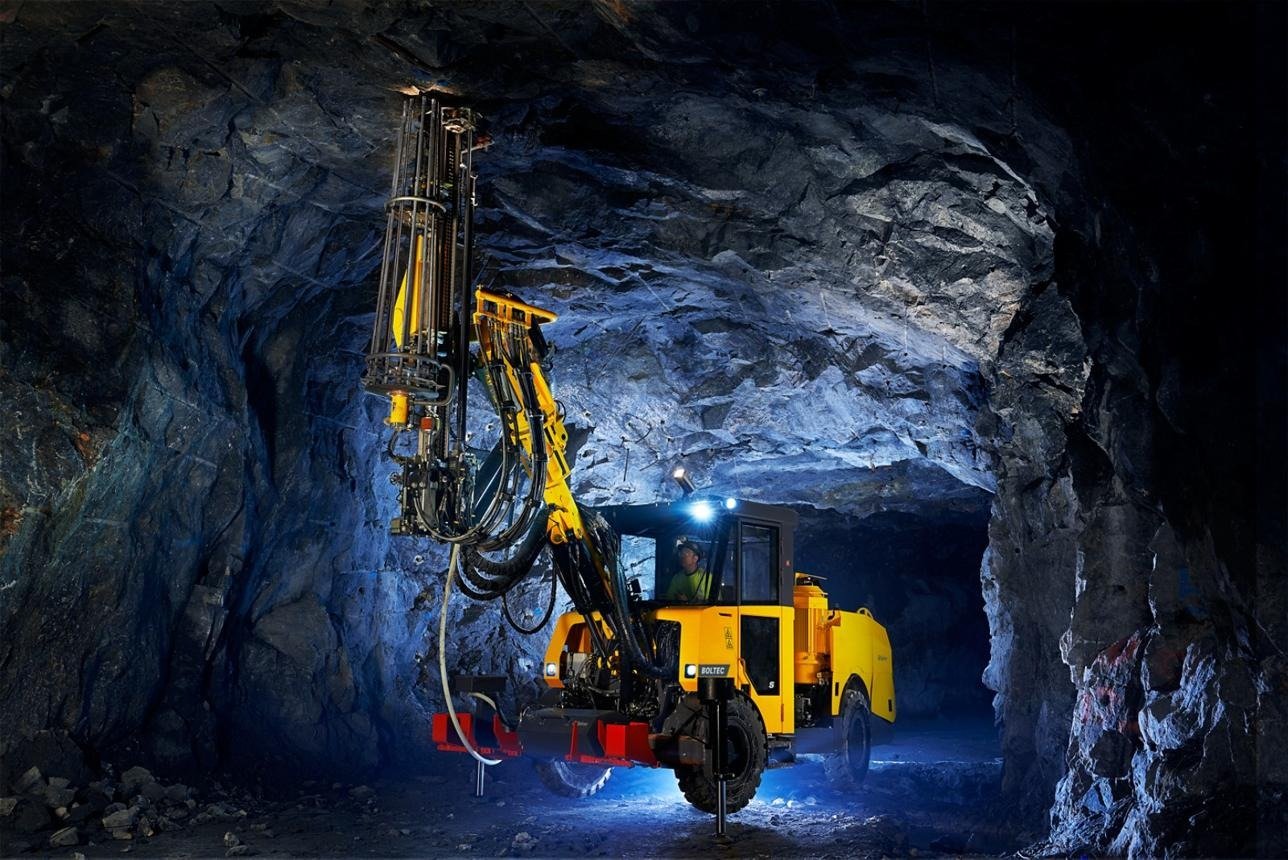
Drilling in demanding mining conditions puts cutting tools under constant mechanical stress. High loads can come from hard rock, repeated impact, vibration, or excessive resistance during cutting. When these forces become too great or remain unstable for too long, the carbide tips, steel body, or mounting components may suffer damage. A drill bit that fails early is not always the result of poor material quality. In many cases, several operating and equipment factors contribute to the failure.
1. High Cutting Loads Can Stress the Bit
Even heavy duty drill bits can experience excessive stress when the cutting load becomes too high. Hard rock and other high-resistance materials require greater force to penetrate and break, which increases the load transferred through the cutting tip. The force does not stop at the carbide tip. It is also transferred into the steel body, shank, holder, and other connected components.
When high loading continues for long periods, the cutting edge may begin to chip or crack. In more severe cases, repeated stress can damage the bit body or affect the mounting area. This is why a bit designed for demanding applications can still fail when the actual cutting conditions place loads beyond what the complete system can handle consistently.
2. Hard and Abrasive Ground Increases the Stress
Hard rock creates greater resistance during drilling, so the bit must handle higher cutting forces to break and penetrate the formation. Abrasive rock creates another problem by wearing the carbide tips and other contact surfaces as the bit works through the material. These conditions can increase the mechanical stress placed on the bit during operation.
The problem is not simply that the ground is hard. Rapid changes in ground resistance can also create unstable loading. For example, a bit moving from softer material into a hard rock band may experience a sudden increase in resistance and impact. Mixed formations can therefore create short periods of unusually high loading, which may contribute to carbide chipping, cracking, or damage to the bit body.
3. Repeated Impact Can Damage the Carbide Tip
High loads become more damaging when the bit is exposed to repeated impact. During drilling, the cutting tip may strike hard formations suddenly instead of experiencing a steady cutting force. If this happens repeatedly, the impact can create small chips or cracks in the carbide tip.
The damage may not be obvious after the first few impacts. However, repeated strikes can gradually weaken the cutting edge until part of the tip breaks away. In severe cases, a sudden impact against a hard section of rock can cause immediate chipping or fracture. This explains why a drill bit may appear to be working normally and then fail unexpectedly. The problem is not always gradual wear. Repeated high-energy impacts can cause a much more sudden type of failure.
4. Excessive Vibration Can Increase the Load
Vibration can make the load on a drill bit unstable instead of allowing it to cut through the formation smoothly. The bit may move, bounce, or shift repeatedly as it encounters changing resistance, creating additional dynamic forces. Drilling research shows that axial, lateral, and torsional vibrations can contribute to tool damage and unstable cutting conditions.
Unlike a single impact, vibration can expose the bit and holder to repeated cycles of loading and unloading. If the carbide tip or bit body already has small cracks or other damage, continued vibration can make the problem worse. This is why unusual vibration should not be treated as only a drilling comfort or efficiency issue. It can be an early sign that the cutting system is experiencing unstable loading.
5. Mounting Problems Can Transfer More Stress to the Bit
A strong drill bit can still fail early if the mounting system does not hold it correctly. A worn holder, loose fit, incorrect seating, or damaged shank can prevent the bit from staying in its intended position during drilling. Instead of distributing the cutting force properly, these problems can concentrate stress on one area of the bit.
Misalignment can create a similar problem. If the bit does not sit straight in the holder, the cutting tip may contact the rock at an unfavorable angle. This can increase lateral force and put additional stress on the carbide tip, shank, or holder interface. Before replacing a failed bit, check the mounting components as well. Otherwise, installing a new bit without fixing the underlying fitment problem may lead to another failure.
6. Operating Conditions Can Push the Bit Beyond Its Normal Load
Operating parameters also affect how much load a drill bit experiences during drilling. Feed pressure, penetration rate, rotational speed, and impact energy need to work together with the ground conditions and equipment. Increasing pressure or impact does not automatically mean better cutting performance. If the settings are too aggressive for the formation, the bit may experience excessive loading instead of cutting efficiently.
Inconsistent operation can create similar problems. Sudden changes in feed pressure or penetration can cause unstable contact between the bit and the rock, increasing vibration and impact. Over time, these conditions can contribute to carbide damage, body stress, or mounting problems. Matching the operating parameters to the actual drilling conditions helps keep the load more stable and reduces unnecessary stress on the complete cutting system.
Check the Specifications and Equipment Compatibility
When a drill bit fails repeatedly, check the specifications before ordering another replacement. The bit needs to match the machine, holder, and actual drilling application. Important details include the bit dimensions, shank size, holder compatibility, carbide tip configuration, and intended working conditions.
Information on the manufacturer’s website can be useful when confirming these details before making a replacement order. You can compare the listed specifications with your existing bit and equipment to identify possible fitment issues. This is especially important when different machines or holder systems use different bit sizes or configurations. A replacement that looks similar may still have different dimensions or mounting requirements, which can create additional stress and lead to another failure.
What to Check After a Drill Bit Fails
After a drill bit fails, inspect the damage before installing another one. A quick check can help you determine whether the failure was caused by loading, mounting, or operating conditions.
- Where did the damage occur?
- Was the carbide tip chipped or broken?
- Is the steel body cracked or damaged?
- Was there unusual vibration during drilling?
- Did the ground conditions change?
- Was the holder secure and properly aligned?
- Were the drilling parameters consistent?
Recording these details can make it easier to identify the cause and prevent the same type of failure from happening again.
Conclusion
High-load failure is often caused by several factors working together. Looking at the ground, impact, vibration, mounting system, and operating conditions can help identify why a drill bit failed. This approach can help you address the underlying problem instead of simply replacing the damaged component and facing the same failure again.
